How to bleed a Radiator System
Every now and then it becomes necessary to bleed your radiators, just to keep your system in tip-top condition. However, it may become an essential task if you get air trapped in them, as it cuts their efficiency significantly and can lead to reduced water flow and less heat from your radiators.
While actually bleeding your radiators sounds complex, if you follow our simple guide, you will have a system that is working at peak condition and delivering the warmth you want.
To do this, you need to follow a series of steps:
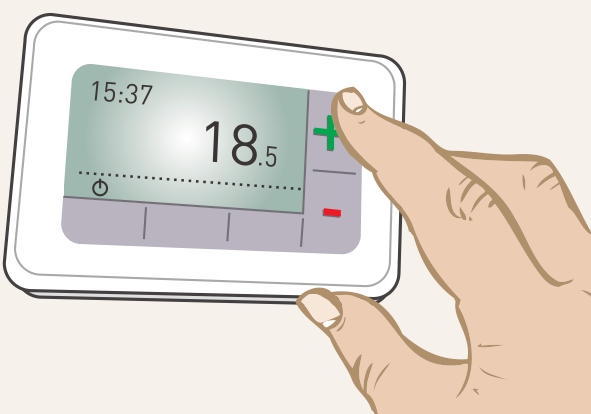
Turn the system on
You are going to need the system to be warm to be able to identify which radiators need bleeding, so start it up at the boiler or timer system, and go to each radiator and turn any integral thermostatic valves up to maximum flow. Wait until the whole system has had time to warm up and the water is flowing through it.

Feel the radiators
Bearing in mind that they may be hot to the touch, go around and feel the condition of each of your radiators. Any radiators that are either cool to the touch – despite the thermostatic valves being turn up – and don’t seem to be working, has a top section that is significantly cooler than the bottom part or is making gurgling noises are likely to need bleeding, so make a note of them.
Turn the heating off. Once you have identified any radiators which are not working efficiently, you need to shut down the system and allow them to cool to the point where you can place your hand on them without any discomfort at all. Once they are cool, you are ready to start bleeding them.
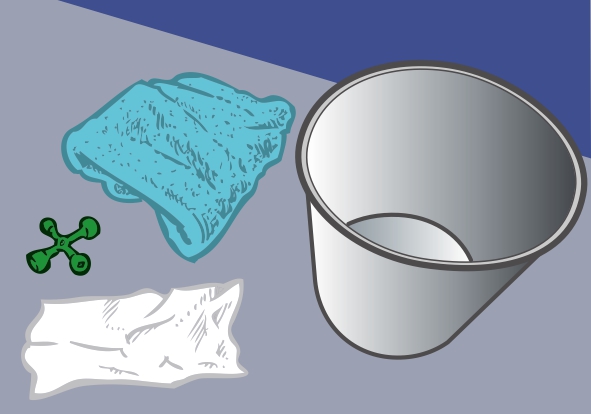
Gather your equipment
To bleed your radiators, you will need;
- A radiator key.
- A cloth to hold against the open valve.
- An old towel for protecting the floor.
- A container to catch any sizeable water leak.
The bleed valve keys – usually with a square hole - are supplied with the radiator, but you can buy them at a DIY shop. Make sure that any key you have fits snuggly on the square drive for the radiator valve. If it seems loose on the square spigot, buy a new one before proceeding. Some modern radiators have a new style of valve that can be turned with a flathead screwdriver.

Locate the bleed valve
Starting with a radiator closest to the boiler, locate the first bleed screw. This is always at the top of a radiator and located at one end, and looks like a round hole with a square metal bar inside it. The square section is used to drive a threaded section that forms the valve, and by undoing it, air – and possibly some water – will be released.
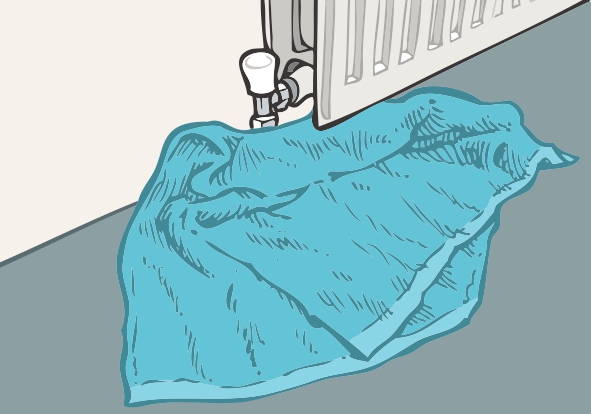
Protect the area
It is likely that some water will be released when you open the valve since the system is under pressure and a small amount will be ejected along with the air. To protect your carpets and floors, place the old towel on the floor so that it covers the area directly under the valve end of the radiator.
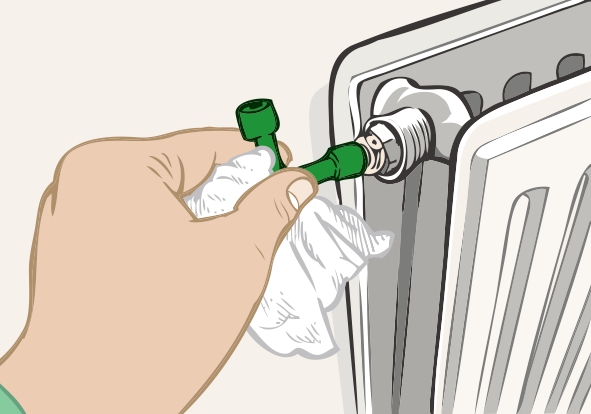
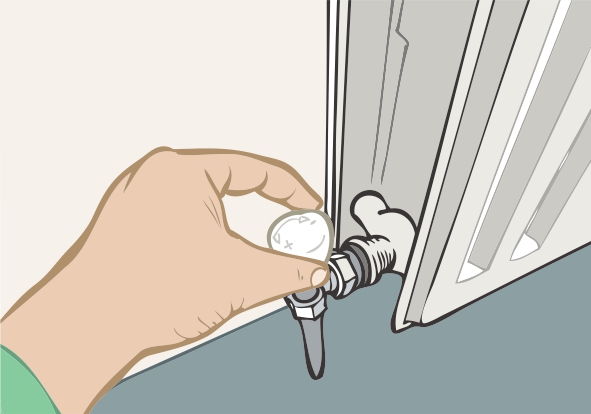
Loosen the valve
Holding the radiator key with the cloth for protection against hot water, place the square bit fully over the bleed valve or, if you’re using a flathead screwdriver, put the blade into the groove. Turn ant-clockwise (right-hand thread) one-quarter of a turn only! This should be sufficient to let trapped air get out but without a huge flow of water. The air should make a whistling sound as it comes out and any water should be caught by the cloth and will drip onto the old towel if too much comes out. Leave the valve open with the key still in place until the whistling stops, which may take 20 to 30 seconds. Retighten the valve and mop up any water on the radiator or floor. Move on to the next radiator.
Restart the system
With each radiator checked in the same way, recheck that all bleed screws are fully tight. Once that is done, restart your heating system and allow it to warm up. Once warm, go around each radiator again and check that they are reaching full heat. Once happy with the heat, turn down the thermostatic valves as appropriate.
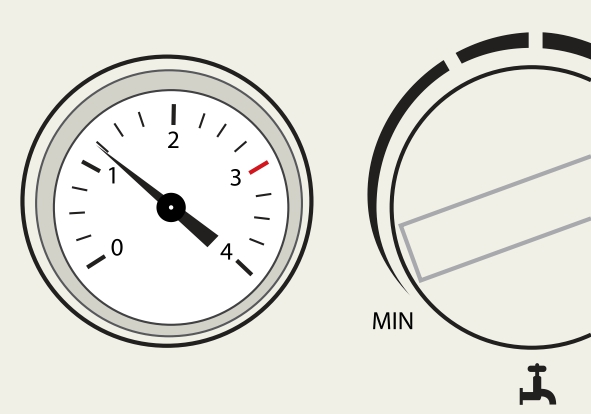
With your radiators checked, you need to also check that your boiler is operating at the right pressure. By bleeding your radiators and releasing excess air, you may have lowered the overall pressure of your system, and this will be apparent by looking at the gauge on your boiler (if you have one) and checking that it is reading between one and two bar pressure.

If this is not the case, then you may need to increase the pressure by using the filling loop on your boiler. This looks like either a black-coloured quarter-turn tap or a lever on the main water supply to your boiler. Simply open this and allow more water into the system to replace that has been lost due to the airlocks, remembering to close the tap once the pressure has come up.
If in doubt, contact your heating engineer for advice.